Toddler Bling: The Crayon Valentine
A couple of years ago, I posted about my friend Natalia’s ingenius Crayon Valentine necklaces. Since this is my kiddos’ first year in preschool and they will officially be doling out Valentines to their friends, I decided that rather than make paper Valentines, we’d go for the gold and melt some old crayons into toddler bling.
This project is very easy but it did take us a little while (the better part of an afternoon). Full Disclaimer: If you are not into crafts in the least, this is not for you. My pal Natalia is such an artist that her projects, no matter the time or detail involved are usually 100% pure fun for her. I will admit that peeling the paper from the crayons and stringing the cords through the holes (that were a bit too small and needed to be wangled- yeah, I just made up that word- a bit bigger), was a bit time consuming. All that to say, despite the minutiae, I highly recommend. If you have a couple of hours to kill and want to make some unique homemade Valentines, this is your project my friends.
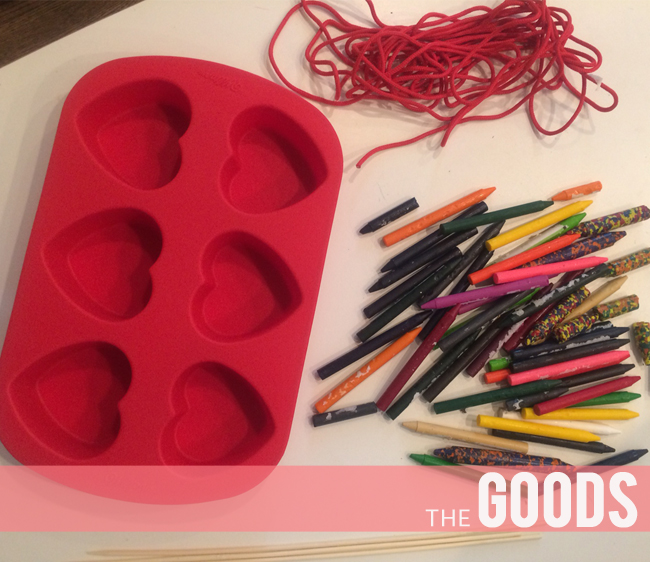
What You Need:
1. Silicone Heart Mold Pan
2. A few boxes worth of old or new crayons
3. Cord (we used parachute cord, this can be anything)
4. Scissors
5. Matches (to seal the frayed ends of your cut cord)
6. Wooden Skewers
7. Tekton Stamp Set (this is totally optional if you would like to personalize your Valentines)
What You Do:
1. Preheat oven to 300 degrees.
2. Peel the paper off the crayons. I enlisted my kiddos in this part of the process, but they didn’t last long. This was really on me and honestly, a bit tedious.
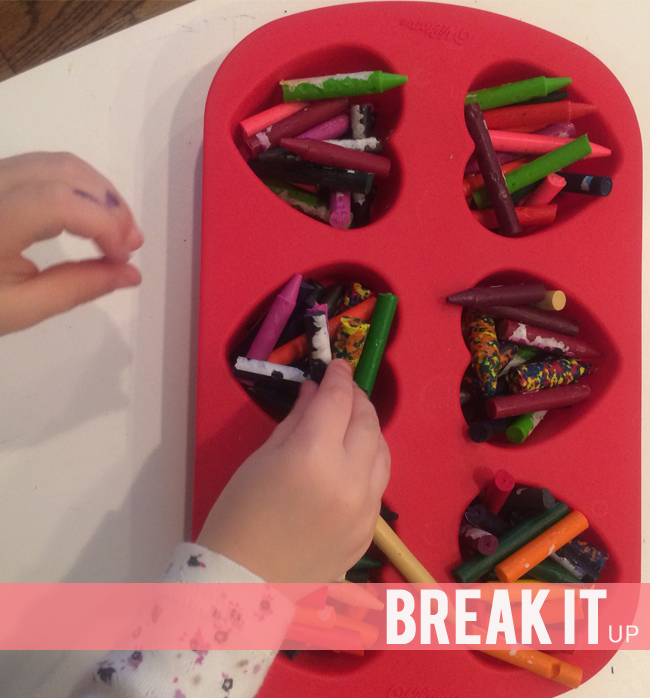
3. Break up the crayons into pieces and put into heart-shaped inserts (this was the kiddos’ favorite part). Fill them a little more than half full if you have a tray with 2 1/2 inch molds like this one.
4. Place into the oven for about 15 minutes. Just watch (this was the kiddos’ 2nd favorite part) and take out once the crayons have all melted and are liquid.
5. Take out of the oven and allow to cool for about 20 minutes.
6. Gently take out each crayon heart from the mold.
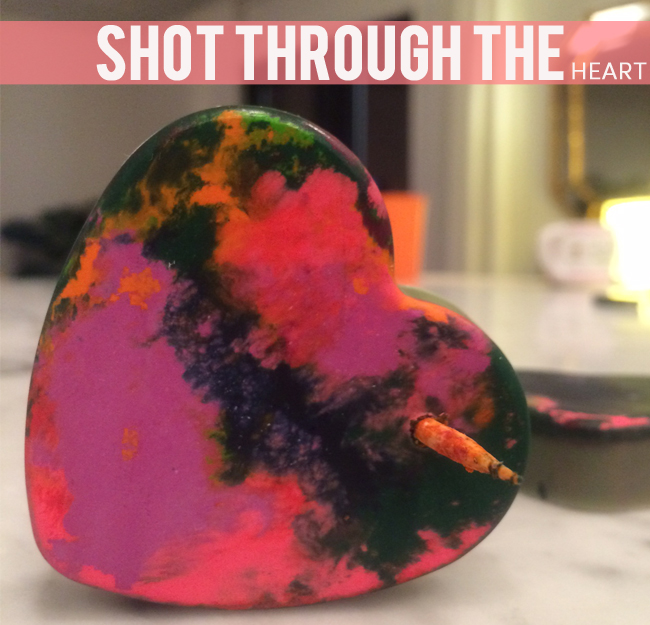
7. Poke a hole in the corner of the heart using a wooden skewer. Make sure that the hole will be big enough for your cord to easily string through. (this is where i went wrong and then had to go back and make all the holes larger).
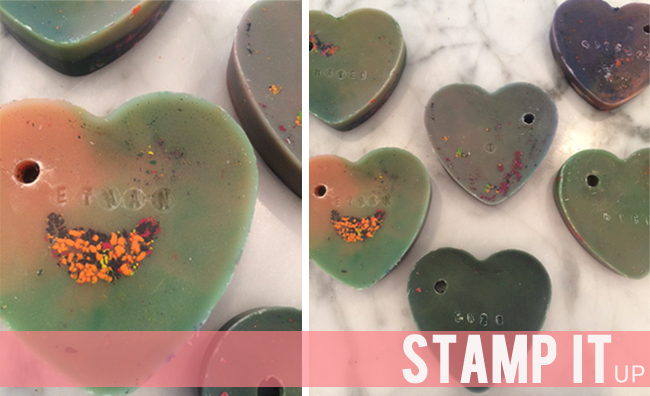
*8. Personalize each heart with your nifty Tekton stamp set (this was my favorite part). I bought mine here at Amazon, you can find them at most local craft stores.
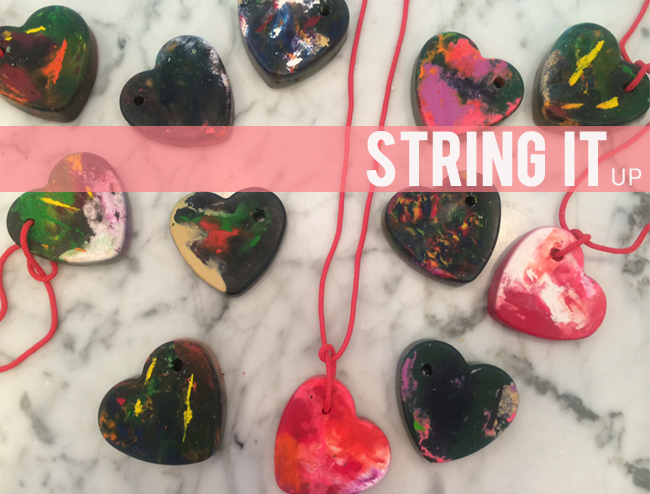
9. String a cord through your heart and tie off.
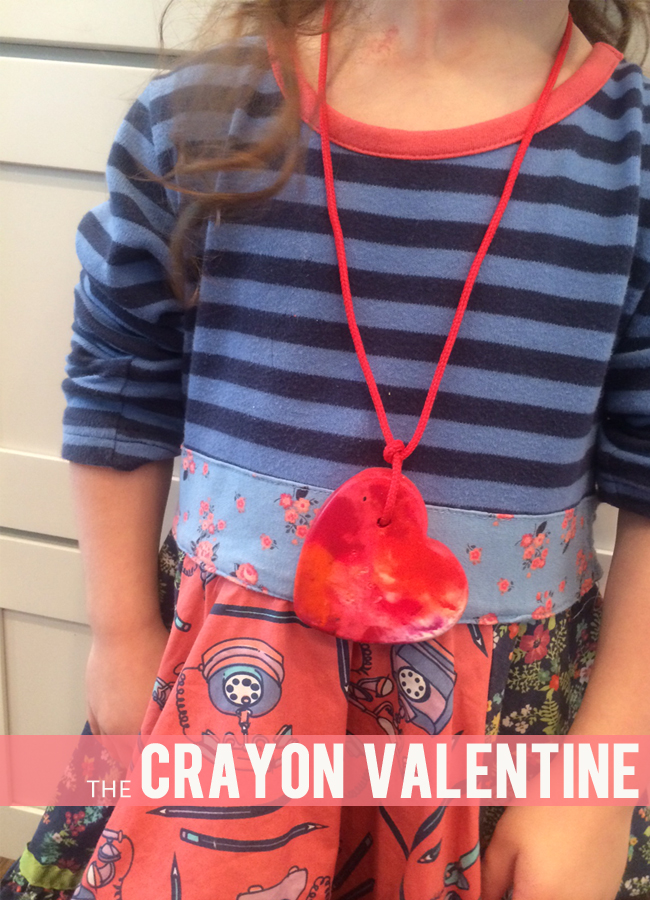
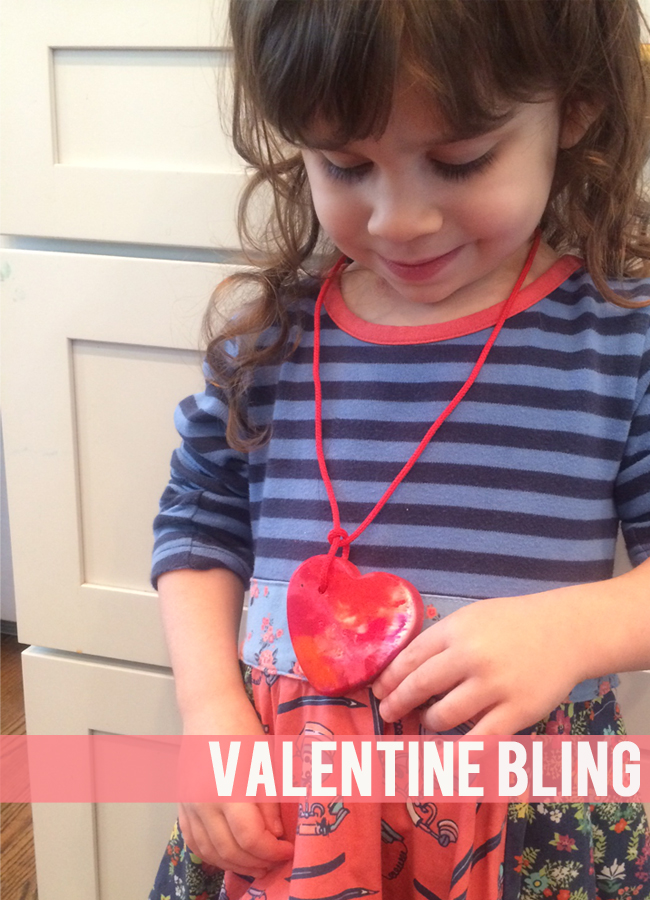
10. Voilá- homemade Valentine bling.
Thank you Natalia Goldman, for your endless creative inspiration!
Cin Cin and Happy Valentines Day!



Wow Kelly, I am impressed!! I guess I am out for this. I definitely have no patience for crafts. However, Elizabeth is already interested looking at the beautiful heart necklace!
xoxox
I knew there was so much similarity between the two of you…..
http://www.sugarandgrace.com/2014/01/19/homemade-crayon-valentinestips-and-tricks/
Two very great women!
love it!
They look FABULOUS!
Crayon paper removal tip (after having made literally too many to count) is to use a sharp cutting knife and drag it down the the side of the crayon. You peel off a strip of paper and some crayon- but leaves you a cuff of paper that literally pops off.
I did find some brands of crayons were easier to peel than others.
I also use a drill to make the holes that way u chose hole size for the thread. Quick. But like the skewer idea!!
You rock Cran- best her classmates were psyched!
you rock Natalia- thank you for the inspiration. tried cutting but had cheapo crayons with impossible paper and almost cut my finger off. will try exacto-ing Crayolas next.
thanks for the tips and endless creativity!
xo
[…] and gluing those silly doilies to the backs of red construction paper hearts. This year we made crayon heart necklaces for our classmates and friends. I feel like those old school paper store-bought Valentines […]